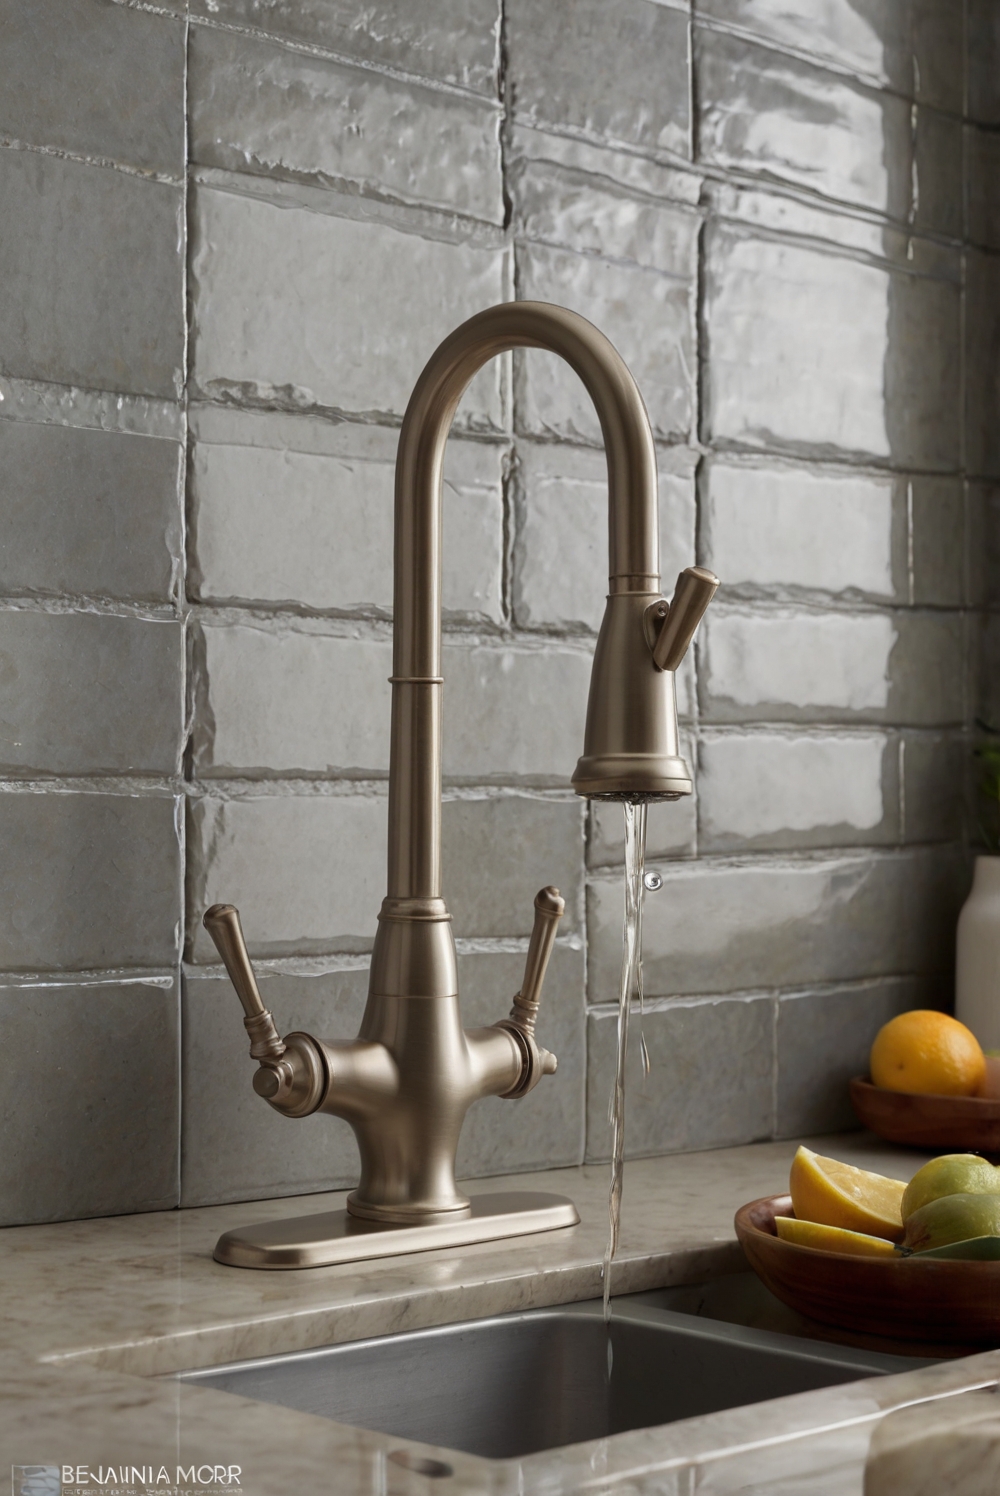
Discover a step-by-step guide to repairing and replacing a kitchen faucet cartridge in your daily interior designer routine. Elevate your space with this simple DIY fix.
To repair and replace a kitchen faucet cartridge, you will need to follow these steps:
1. Turn off the water supply to the faucet.
2. Remove the handle and escutcheon to expose the cartridge.
3. Use a cartridge removal tool to unscrew and remove the old cartridge.
4. Install the new cartridge by following the manufacturer’s instructions.
5. Reassemble the faucet handle and turn the water supply back on.
6. Check for leaks and make sure the faucet is functioning properly.
This routine maintenance can help prevent leaks and keep your kitchen running smoothly. Additionally, matching the new cartridge with your faucet model is essential for optimal performance. Be sure to have the necessary tools on hand and organize your workspace before starting the repair.
What is a kitchen faucet cartridge?
A kitchen faucet cartridge is a vital component of a faucet that controls the flow of water. It is responsible for regulating the temperature and pressure of the water that comes out of the faucet. The cartridge is usually made of durable materials like ceramic or brass and is designed to withstand years of use.
Why is it important to repair and replace a kitchen faucet cartridge?
Over time, the cartridge in a kitchen faucet can wear out or become damaged, leading to leaks, low water pressure, or inconsistent water temperature. Repairing or replacing the cartridge can help restore the faucet’s functionality and prevent further damage to your plumbing system. Ignoring a faulty cartridge can result in higher water bills and potential water damage to your kitchen.
How can you tell if your kitchen faucet cartridge needs repair or replacement?
Signs that indicate your kitchen faucet cartridge may need repair or replacement include:
– Leaking faucet
– Low water pressure
– Difficulty in adjusting water temperature
– Inconsistent water flow
– Strange noises coming from the faucet
What tools do you need to repair and replace a kitchen faucet cartridge?
To repair or replace a kitchen faucet cartridge, you will need the following tools:
– Adjustable wrench
– Screwdriver
– Replacement cartridge
– Plumber’s grease
– Rag or towel
What are the steps to repair and replace a kitchen faucet cartridge?
1. Shut off the water supply: Before you begin, turn off the water supply to the faucet to prevent any leaks.
2. Remove the handle: Use a screwdriver to remove the handle of the faucet and expose the cartridge.
3. Remove the cartridge: Use an adjustable wrench to unscrew the cartridge and carefully remove it from the faucet.
4. Install the new cartridge: Insert the replacement cartridge into the faucet and secure it with the wrench.
5. Reassemble the faucet: Put the handle back on and turn on the water supply to test the new cartridge.
In conclusion, knowing how to repair and replace a kitchen faucet cartridge is essential for maintaining a functional kitchen faucet. By following the steps outlined above and being proactive in addressing any issues with the cartridge, you can ensure that your faucet continues to work efficiently and prevent potential plumbing problems. Regular maintenance and timely repairs can save you money in the long run and extend the lifespan of your kitchen faucet.
1. What tools do I need to repair and replace a kitchen faucet cartridge?
To repair and replace a kitchen faucet cartridge, you will need a few essential tools such as an adjustable wrench, pliers, screwdrivers, and a cartridge puller. These tools will help you disassemble and reassemble the faucet components efficiently.
2. How do I identify if my kitchen faucet cartridge needs to be replaced?
If you experience dripping or leaking from the faucet, reduced water flow, or difficulty in controlling water temperature, it may indicate a faulty cartridge. Inspect the cartridge for any visible signs of wear or damage to determine if a replacement is necessary.
3. What are the steps to remove and replace a kitchen faucet cartridge?
Start by turning off the water supply to the faucet. Remove the handle, trim, and retaining nut to access the cartridge. Use a cartridge puller to extract the old cartridge and replace it with a new one. Reassemble the faucet components and test for leaks.
4. Can I repair a kitchen faucet cartridge instead of replacing it?
In some cases, a cartridge can be repaired by cleaning or lubricating the components. However, if the cartridge is heavily damaged or worn out, it is advisable to replace it to ensure proper functioning of the faucet.
5. How often should I replace the kitchen faucet cartridge?
The lifespan of a kitchen faucet cartridge can vary depending on usage and water quality. Generally, it is recommended to replace the cartridge every 3-5 years to maintain optimal performance and prevent any issues with the faucet. Regular maintenance and inspection can help prolong the lifespan of the cartridge.


