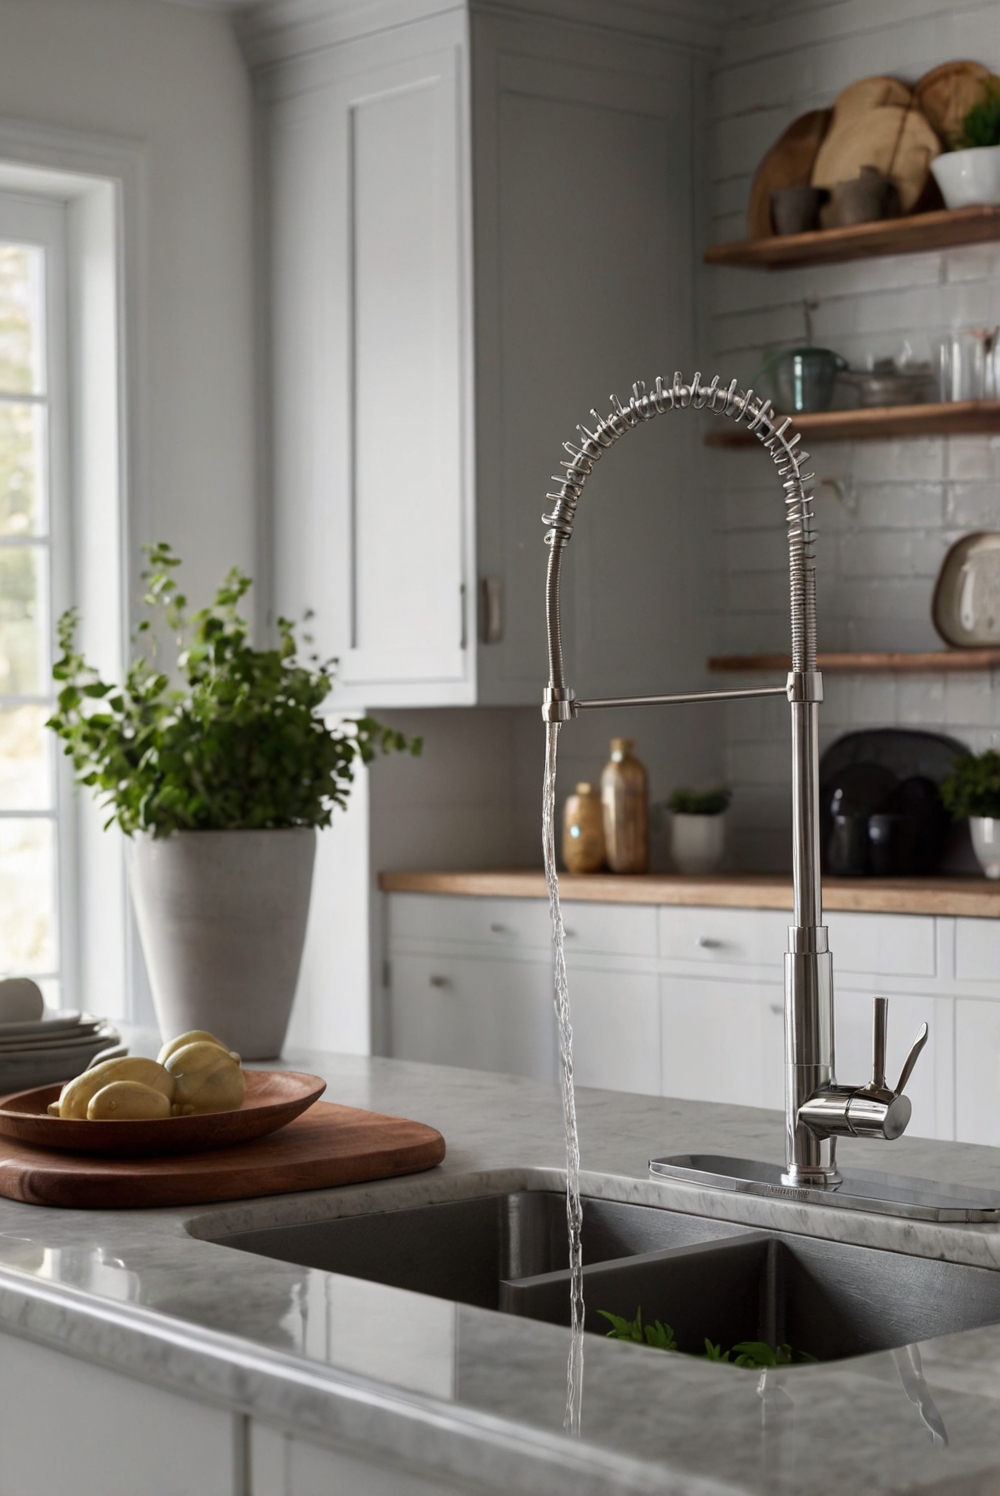
Join me on a step-by-step guide to installing a kitchen faucet by yourself. Discover easy tips and tricks to upgrade your kitchen décor effortlessly.
**How to install a kitchen faucet yourself?**
**Answer:**
Installing a kitchen faucet yourself is a simple DIY project that can upgrade the look of your kitchen. Start by gathering the necessary tools: the new faucet, wrench, pliers, and plumber’s tape. Turn off the water supply and drain any remaining water in the pipes. Follow the instructions provided with the new faucet, and make sure to secure all connections tightly. It’s important to check for any leaks after installation.
This project allows you to customize your kitchen and save on professional installation costs. Additionally, a new faucet can enhance the functionality and aesthetic of your kitchen space. Remember to follow safety precautions and take your time to ensure a successful installation.
What tools and materials do you need to install a kitchen faucet yourself?
To install a kitchen faucet yourself, you will need a few essential tools and materials. These include an adjustable wrench, a basin wrench, plumber’s putty or silicone sealant, Teflon tape, a bucket, towels or rags, and safety goggles. Make sure to gather all these items before starting the installation process.
How to prepare for installing a kitchen faucet?
Before you begin installing the new kitchen faucet, it is important to prepare the area properly. **First**, turn off the water supply to the faucet by shutting off the valves under the sink. **Next**, place a bucket under the sink to catch any water that may spill during the installation. **Then**, clear out the area under the sink to provide easy access to the plumbing connections. **Finally**, read the manufacturer’s instructions carefully to understand the installation process.
What are the steps to install a kitchen faucet yourself?
Installing a kitchen faucet can seem like a daunting task, but with the right guidance, you can do it yourself. **Start** by removing the old faucet by disconnecting the supply lines and unscrewing the mounting nuts. **Next**, clean the area where the new faucet will be installed. **Then**, apply plumber’s putty or silicone sealant to the base of the new faucet. **After that**, insert the new faucet into the mounting holes and secure it with the mounting nuts. **Finally**, reconnect the supply lines and turn on the water supply to test the new faucet for leaks.
What are some common mistakes to avoid when installing a kitchen faucet?
When installing a kitchen faucet yourself, it is important to avoid some common mistakes that can lead to problems down the line. **One** common mistake is not properly tightening the connections, which can cause leaks. **Another** mistake is using the wrong tools or materials for the installation, which can result in damage to the faucet or plumbing. Make sure to follow the manufacturer’s instructions carefully and double-check your work to avoid these common mistakes.
What are some tips for a successful kitchen faucet installation?
To ensure a successful kitchen faucet installation, **be** sure to read the manufacturer’s instructions thoroughly before starting. **Additionally**, take your time during the installation process and double-check all connections to prevent leaks. **It** is also helpful to have a friend or family member assist you during the installation to make it easier. **Finally**, test the faucet for leaks after installation and make any necessary adjustments to ensure it is working properly.
In conclusion, installing a kitchen faucet yourself can be a rewarding project that can save you money and give you a sense of accomplishment. By following the steps outlined above and avoiding common mistakes, you can successfully install a new faucet in your kitchen. Remember to gather all the necessary tools and materials, prepare the area properly, and take your time during the installation process. With a little patience and attention to detail, you can enjoy a new kitchen faucet that adds both functionality and style to your space.
1. What tools do I need to install a kitchen faucet myself?
To install a kitchen faucet yourself, you will need a few essential tools such as an adjustable wrench, pliers, screwdriver, Teflon tape, and a bucket. These tools will help you easily remove the old faucet and install the new one without any hassle.
2. How do I remove the old kitchen faucet?
To remove the old kitchen faucet, start by turning off the water supply to the faucet. Then, disconnect the supply lines and remove the mounting nuts that hold the faucet in place. Once the nuts are removed, you can lift the old faucet out of the sink.
3. What are the steps to install a new kitchen faucet?
The steps to install a new kitchen faucet include assembling the new faucet according to the manufacturer’s instructions, positioning it in the mounting holes on the sink, and securing it in place with mounting nuts. Finally, connect the supply lines and turn on the water supply to check for any leaks.
4. How do I ensure a leak-free installation of the kitchen faucet?
To ensure a leak-free installation of the kitchen faucet, make sure to use Teflon tape on the threaded connections to create a tight seal. Additionally, check for any leaks after turning on the water supply and tighten the connections if needed to prevent any leaks.
5. What are some common mistakes to avoid when installing a kitchen faucet?
Some common mistakes to avoid when installing a kitchen faucet include overtightening the connections, not using Teflon tape, and forgetting to turn off the water supply before starting the installation. By following the manufacturer’s instructions carefully and taking your time during the installation process, you can avoid these common mistakes and successfully install the kitchen faucet yourself.


