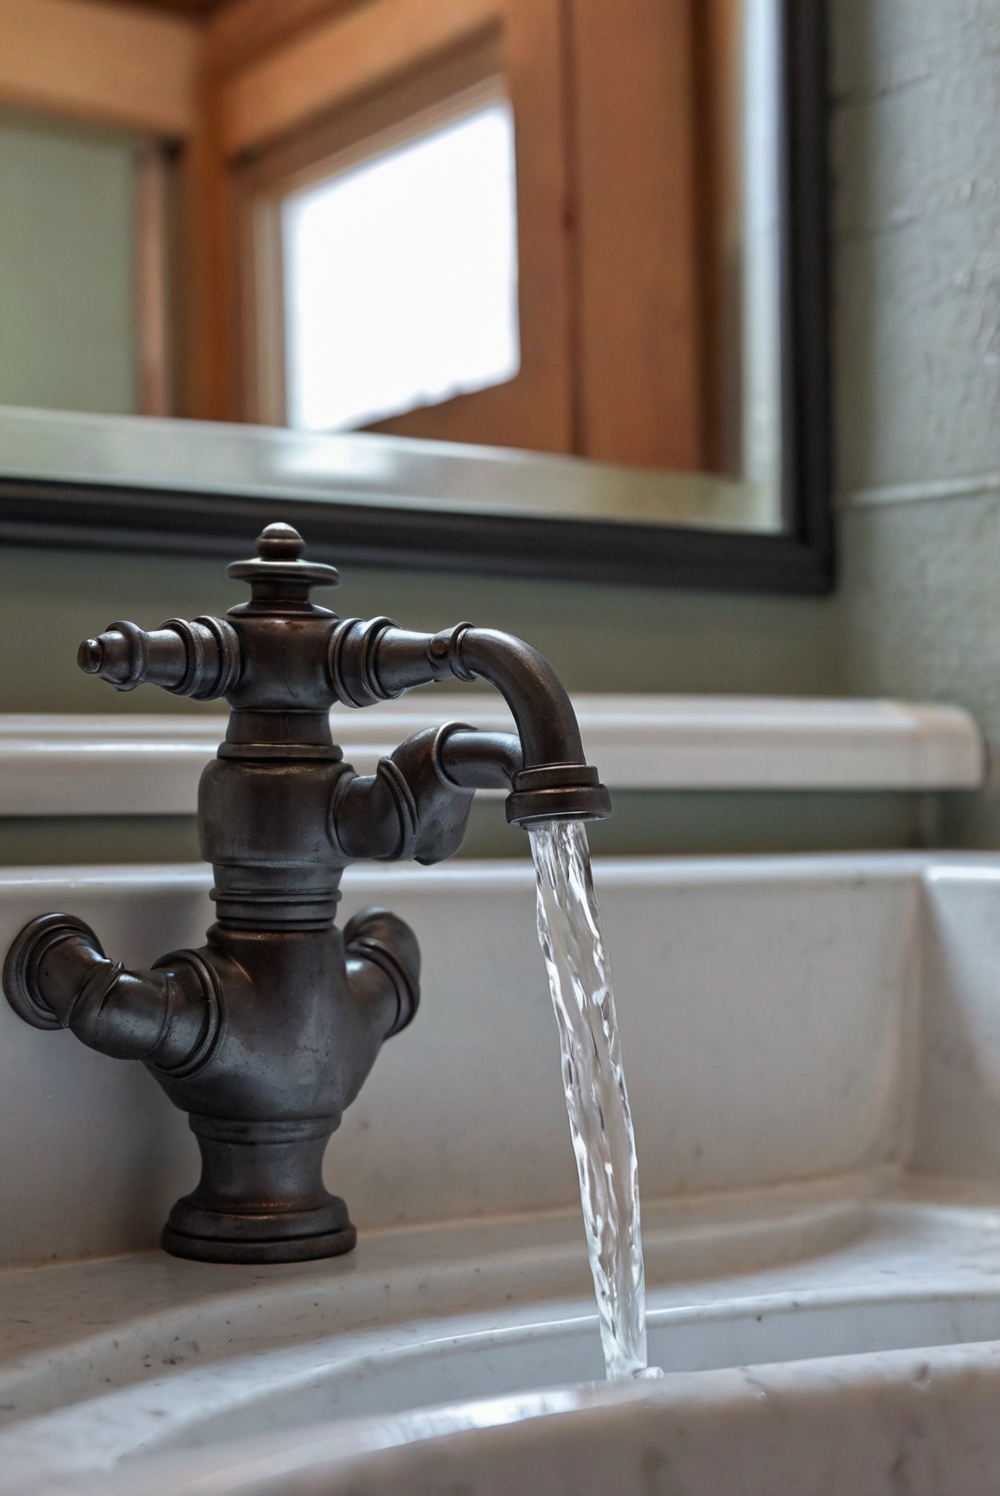
Explore this daily interior designer routine with decore. Learn how to effortlessly replace a bathroom sink faucet cartridge for a fresh and stylish home upgrade.
How to replace a bathroom sink faucet cartridge?
To replace a bathroom sink faucet cartridge, follow these simple steps:
- Turn off the water supply to the faucet.
- Remove the handle by unscrewing the set screw.
- Take off the escutcheon plate, bonnet nut, and cartridge.
- Insert the new cartridge, reassemble the faucet, and turn the water supply back on.
Make sure to check if the new cartridge matches the old one and follow the manufacturer’s instructions. This routine maintenance can prevent leaks and ensure your bathroom sink faucet works properly.
What is a bathroom sink faucet cartridge?
A bathroom sink faucet cartridge is an essential component of a faucet that controls the flow of water and temperature. It is a small, cylindrical valve that fits inside the faucet handle and is responsible for regulating the water flow and temperature when the faucet handle is turned. Cartridges come in various sizes and designs, depending on the type and brand of the faucet. They are crucial for ensuring smooth operation and efficient water control in your bathroom sink faucet.
Why is it important to replace a bathroom sink faucet cartridge?
Over time, the bathroom sink faucet cartridge can wear out due to regular use, mineral buildup, or sediment accumulation. When the cartridge becomes damaged or worn, it can lead to problems such as leaking, dripping, reduced water flow, or inconsistent water temperature. Replacing the cartridge is crucial to restore the proper functioning of your faucet and prevent water wastage. Ignoring a faulty cartridge can result in higher water bills and potential damage to your sink or countertop.
How do you know when it’s time to replace a bathroom sink faucet cartridge?
There are several signs that indicate it’s time to replace the bathroom sink faucet cartridge. These include:
– **Leaking or dripping faucet:** If you notice water leaking or dripping from the faucet even when it’s turned off, it could be due to a faulty cartridge.
– **Difficulty in turning the handle:** If the faucet handle is hard to turn or feels stiff, it may be a sign that the cartridge is worn out and needs replacement.
– **Inconsistent water temperature:** If you experience fluctuations in water temperature when using the faucet, it could be a result of a faulty cartridge.
– **Reduced water flow:** A decrease in water flow from the faucet could indicate a clogged or damaged cartridge that needs to be replaced.
What tools are needed to replace a bathroom sink faucet cartridge?
To replace a bathroom sink faucet cartridge, you will need the following tools:
– Adjustable wrench
– Screwdriver (flathead or Phillips, depending on the faucet)
– Replacement cartridge (make sure to purchase the correct size and type for your faucet)
– Plumber’s grease or silicone lubricant
– Rag or towel to clean up any spills or drips
What are the steps to replace a bathroom sink faucet cartridge?
1. **Turn off the water:** Before you start, shut off the water supply to the faucet by turning the shut-off valves under the sink.
2. **Remove the handle:** Use a screwdriver to remove the handle of the faucet, exposing the cartridge underneath.
3. **Remove the cartridge:** Depending on the type of faucet, you may need to use an adjustable wrench to unscrew the cartridge from the faucet body.
4. **Install the new cartridge:** Insert the new cartridge into the faucet body, ensuring it is properly aligned and seated.
5. **Reassemble the faucet:** Put the handle back on and secure it with the screw. Turn on the water supply and test the faucet for any leaks or issues.
In conclusion, replacing a bathroom sink faucet cartridge is a simple yet essential maintenance task that can help ensure the efficient operation of your faucet and prevent water wastage. By following the steps mentioned above and knowing when to replace the cartridge, you can keep your bathroom sink faucet in optimal condition and avoid costly repairs in the future. Remember to use the right tools and take your time to complete the replacement process accurately.
1. How do I know if my bathroom sink faucet cartridge needs to be replaced?
When you notice leaking or dripping from the faucet, reduced water pressure, or difficulty controlling water temperature, it may indicate a faulty cartridge. Checking the manufacturer’s guide for your faucet model can also help determine if a replacement is needed.
2. What tools do I need to replace a bathroom sink faucet cartridge?
Common tools include an adjustable wrench, screwdriver, plumber’s grease, and a replacement cartridge. It’s important to turn off the water supply before starting the replacement process to avoid any leaks or accidents.
3. Can I replace a bathroom sink faucet cartridge myself?
Yes, replacing a cartridge can be a DIY project if you have the necessary tools and basic plumbing skills. Following the manufacturer’s instructions and ensuring the water supply is shut off are crucial steps for a successful replacement.
4. How long does it take to replace a bathroom sink faucet cartridge?
The time required to replace a cartridge can vary depending on the complexity of your faucet and your experience with plumbing tasks. On average, it can take around 30 minutes to an hour to complete the replacement process.
5. Are there any specific steps to follow when replacing a bathroom sink faucet cartridge?
Before starting, make sure to shut off the water supply, remove the faucet handle, and access the cartridge. Carefully extract the old cartridge, clean the area, and install the new one using plumber’s grease for lubrication. Reassemble the faucet, turn on the water supply, and test for any leaks or issues before completing the replacement process.


